
1 · Create an account
Sign up with your email or a connected account. A short guided setup starts right away.
Create your account, set up a project, and choose your languages.
Navigation
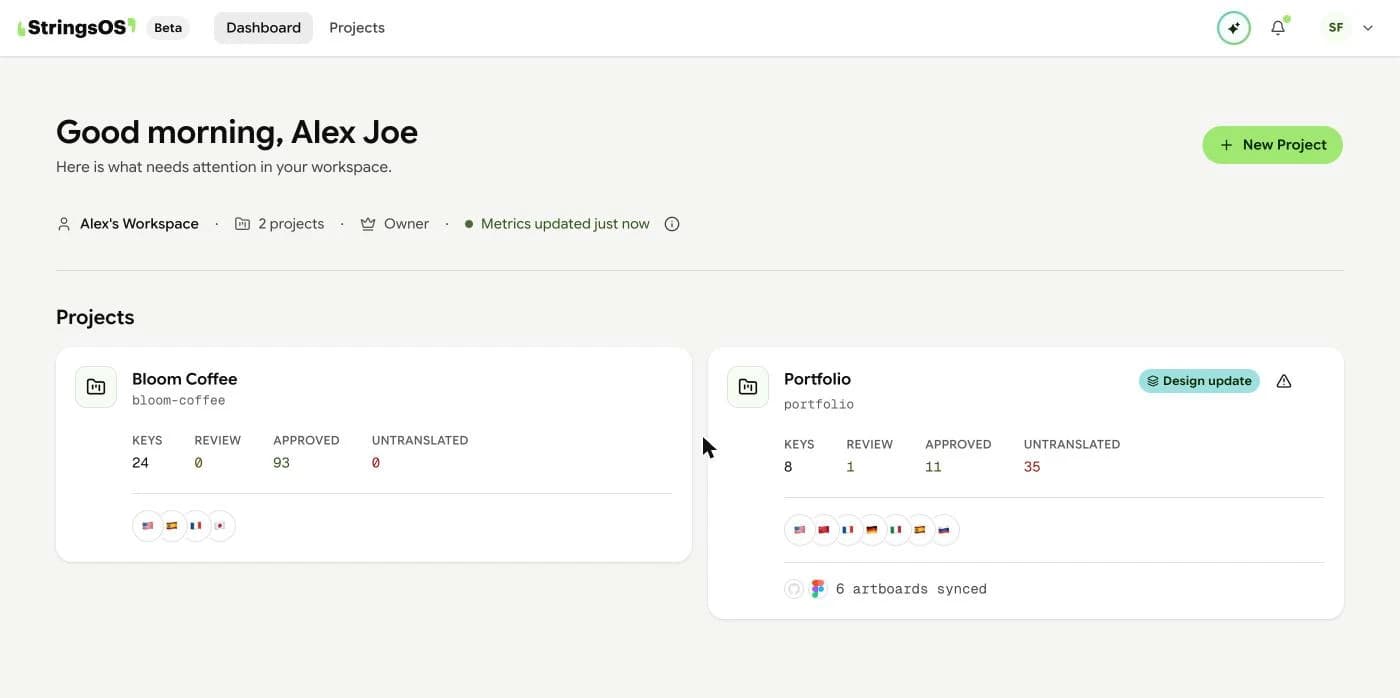
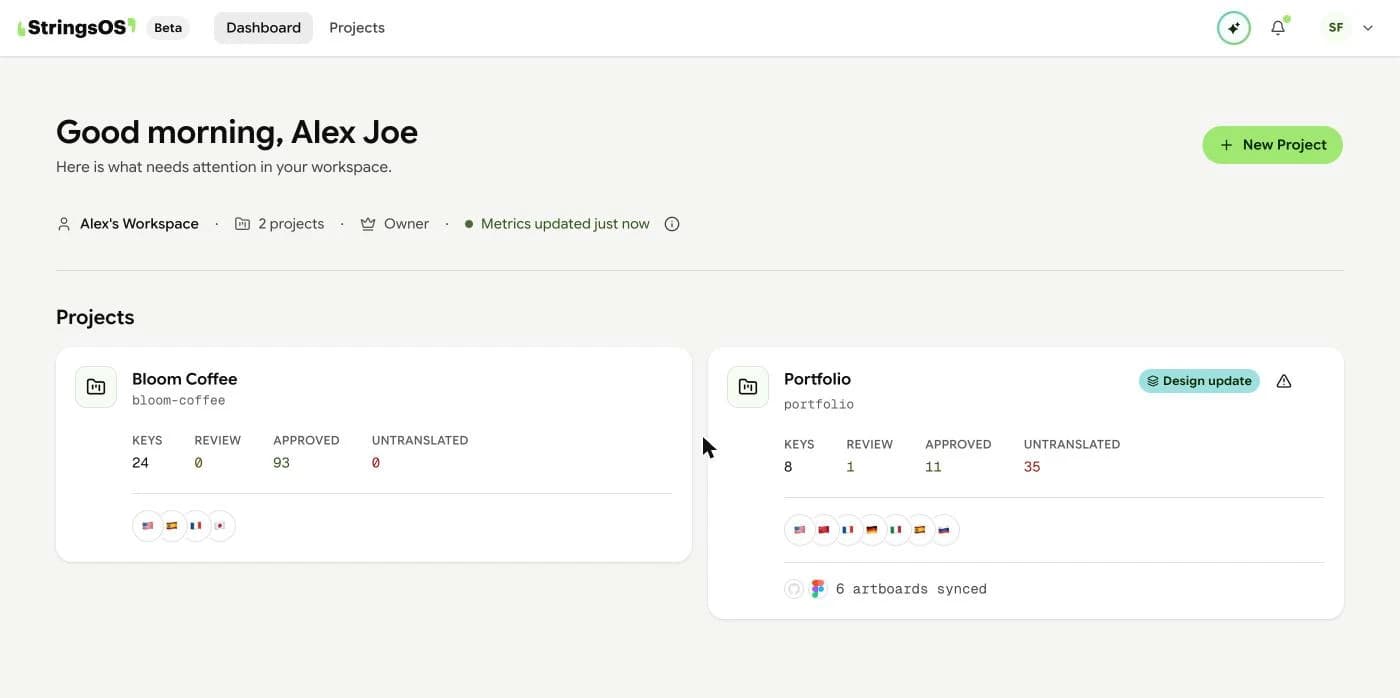
Your dashboard shows every project and how far along it is.
The basics
Sign up with your email or a connected account. A short guided setup starts right away.
Name your workspace. Use it just for you, or for your whole company.
Give it a name, then choose the language your text is written in.
Choose the languages to translate into. You can change them later.
A workspace is your home in StringsOS. Inside it, each project is one app or website, with its own text and languages.
Step 2
After you sign up, you create a workspace, usually named after your company. Your projects, team, and billing all live inside it. Everyone you invite can work on its projects, based on their role.
Step 3
Each project is one app or website. Give it a name and choose your main language, the one your text is written in (usually English). Every project keeps its own saved translations and AI settings.
Step 4
Now add the languages you want to translate into. You can pick regional versions too, like French (Canada) or French (France). More than 100 languages and regional versions are supported, and StringsOS sets up the editor and AI for each one.
Once your project exists, add your text by importing a file or connecting GitHub.
Create your account and your first workspace.
Free during beta · No credit card required